Slots

We outline how to annotate multiple files simultaneously on the same screen, using V7's Slots.

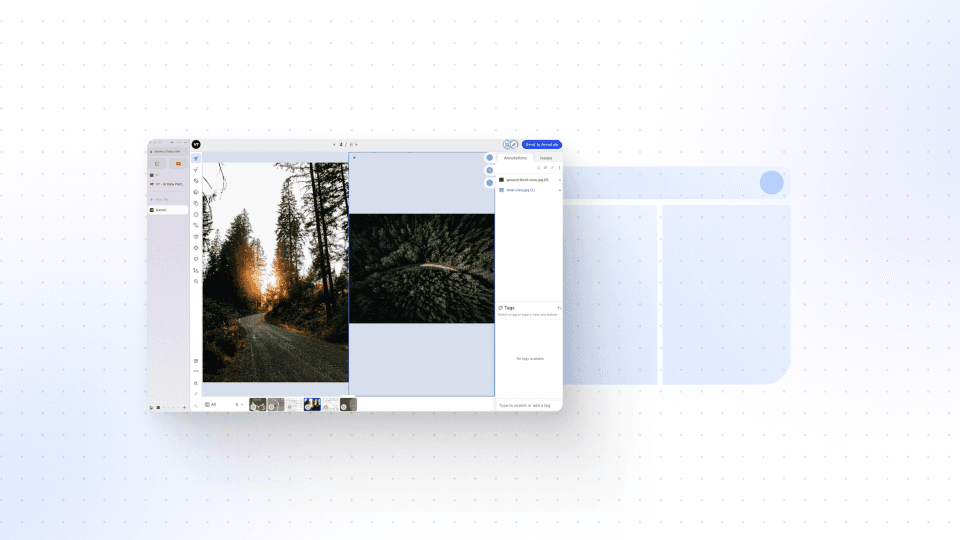
In this session, we dive into V7 slots, which allows you to annotate multiple files on the same screen simultaneously. This feature is especially valuable for medical use cases, for example, mammography hanging protocols, and any scenario that requires multiple files and file types on screen at once. Let's say you need to annotate a dataset with PDF instructions on an item level rather than a dataset level – that's where slots come in handy.

Slots offer a seamless way to register PDF files or other additional information alongside the main image. This means annotators always have specific instructions or reference data available while they annotate. For example, you could load an ultrasound image on the right slot and a healthcare record as a PDF on the left slot, allowing annotators to make more informed decisions.

This video takes you through the process of uploading data into specific slots using the V7 REST API. Although the demonstration involves medical images (DICOM files), you can use the same process for any file types, including images, videos, and PDFs.

The video covers step-by-step instructions, including setting up the necessary imports, signing and uploading images, and confirming the successful upload. You'll learn how to handle multiple slots for a single item and how to access annotations for individual slots within a Darwin JSON file.

By the end of this video, you'll have a comprehensive understanding of how to leverage slots Annotation in V7 to enhance your annotation workflow. Whether you're dealing with medical datasets or any other scenario that requires concurrent annotation of multiple files, this feature will boost efficiency and accuracy.

For some annotation tasks, having just one file available on screen just isn't enough.

Luckily, you can annotate multiple files on the same screen at once, using slots.

This is especially useful for medical use cases, like mammography hanging protocols. However, Slots can be used for any scenario where multiple files and file types are required on screen at once.

Let's say you require pdf instructions on an item level rather than a dataset level. Slots enable you to register a pdf file with additional information about the item so the image-specific instructions are always visible to an annotator while they are annotating. In this instance, you would load an ultrasound image in the right slot and a healthcare record as a PDF in the left slot.

You could also use Slots to render different zoom levels of the same image on the screen at once or to render satellite imagery in one slot and the corresponding ground imagery in the other.

As you can see, slots can be used in many different ways to suit your specific use case best. However, let's have a look at how to upload data into specific slots using the REST API. We already have a full video on uploading and registering data to V7 - so I won't go too much into detail here.

Let's look at the code. We'll start with the imports and since we are using the REST API, the only library that we really need is the requests library. I'm also importing my API key here, which I have stored in a separate file so you don't see what my API key is.

Okay, now that we have the imports out of the way, let's look at step zero: which images do we want to upload?

In this example, I have an extra directory that is called breast where I have two DICOM images, one for the left breast and one for the right breast. So, after getting those two images, I'll store them in a little dictionary and I'll separate them into a key and a value for the item name and for the respective path of that specific item.

So, when running the cell, we can see again what I just mentioned, the item name itself as the key and the path to that item as the value. This is really handy to then just loop over the individual items which we need to do to upload the data. We will have to upload every single item separately.

If that doesn't make sense yet, we'll look at it in a second.

So let's go to step one.

The first step will be to again register the data. We have to register each single file to V7 so that V7 knows how many files we are going to upload and what they are called. To do that we specify the URL, providing our slugified team name and the dataset slug will be used in a second.

For the whole payload of the message that we are sending, we are going to have the same headers as always. As for the payload, this is the part that we have to tweak a bit from the payload that we used in the full registry or upload video. When working with Slots we have to provide all the different items in the specific slots.

Here, we have a list of all items. In this case, we have one item: one breast item that has two images inside of it, or in other words, two Slots for those images.  Inside this list for all items, I will again be iterating over the actual images that are going to be stored in the specific Slots.

Here, I'm going to add a list of all Slot items for one particular global item. We'll provide the filename of the actual file that we'll be uploading, in this case, it will be “breast left” and “breast right”.

So let's start with “breast right”.  I'm going to provide the Slot name, and the slot name in this case will just be 0 for the first slot, and for the second item, (the “breast left”) the slot name will be 1. That's how we associate individual images to the specific Slots of the whole item.

Okay, I hope that wasn't too confusing. As mentioned, it's just a tiny list comprehension iterating over the individual items that you want to assign to one Slot. After we have built this payload, we can just send our request and we'll receive an answer, where we have a list of all the items that we want to upload.

Again, the “items” in this example are just going to be one item, namely an item called “breast”, but this one item will have multiple Slots, multiple files, and images in the Slots. Not only that - each individual Slot will have an upload ID which means that we'll have to upload each individual image to V7.

So let me quickly just extract those two upload IDs for the two individual images. I'm going to store them in another dictionary where the key is again the upload ID and the value is going to be the path to the actual item that we want to upload.

Then we get to the upload loop that iterates over all the individual items. The first step that we need to do in this loop or the second step in this whole upload process is to sign our image. When signing this image, we'll get a response that includes the upload URL to this specific image.

From here, it's really simple. We'll just need to read in the data, read in the one specific image, and then upload the image to the provided specific upload URL for this one image. Once that is done, we can confirm the upload.

And, that's pretty much it. If I run this cell, we see that we have two successful responses printed out. Now that’s done, I'll show you that the files are uploaded to the dataset.

When I refresh the UI, we can see that I now have one item here that is called “breast”. If I open this item, we can see that I have two slots with two separate images. One for the “right breast” and one for the “left breast”.

This way I can compare them better when doing my annotations.

It’s worth noting that the two files that you want to upload into two slots don't have to be of the same type. One could be a video, for example, and the other a PDF or a normal PNG. To show that this works, I have a second directory prepared with an image and a video.

Here, I have an image of a floor plan and a video of a person going through the apartment. I will just skip through this code because the code is exactly the same.

I will get my IDs corresponding to each item itself, and then I will run this sign, upload, and confirm loop. Now, since this is done, we can go ahead and just open the UI, and we can see that I again have a new item right here, which is called “room”, and if I open this item, we can see that I again have two slots, one for the PDF for the floor plan, or one PNG for the floor plan, and one item for the video of the room.

I can now iterate over every frame and when wanting to label something based on the room we are in, for example, I can make better decisions based on that because I have the floor plan. I know we are currently in the living room and, for example, when going to the balcony, I would know that this balcony is directly attached to the living room.

Or when I would be going to one of the bedrooms, I would know that bedroom that I am in is bedroom A, B, C, or however they are be labeled. So, it's just a  really nice guidance assistance for the annotators to a reference point for example.

Since we have two images in one item, how do we access the annotations that we do on the individual images on the individual Slots? That's a very good question.

So, let's simply go ahead and export our breast example where I have done some annotations, and look at the annotation file, our Darwin JSON annotation file. To do that, we'll just select this one file, go to export data, and create a new export. Let's call this one breast as well.

Let's take the selected file and just export the item. Once it's done generating the export, we can go ahead and download our file. We again have a full video on the Darwin JSON file format where we go into detail about how it is structured.

To deal with the Slots, let's look at the individual exports.

Here we have the item field. The item field lists all the metadata of the individual items that we have. In this case, we only have one item, the “breast” item, and this has multiple Slots. Here we see a list of all the different slots. We have here slot 0, which was our left slot, which was the right breast, and we here have some metadata like the width and height.

This is the second Slot, “slot 1” and its metadata. Now, if we go down to the actual annotations, we have a similar thing: we have a list of all the different annotations of this one item. For example, here we have one bounding box.

How do we know to which of the two images this bounding box corresponds?

For this specific annotation, we have the Slot name. That’s how we know that this specific bounding box corresponds to Slot 0 - the left image, so the image of the right breast.

It’s the same for this bounding box. It's the second bounding box of the left image that we had -and our third bounding box right here belongs to slot number 1 the right image.

In this example, we uploaded data into two Slots - but you can add as many Slots as you like. For more details, please have a look at the documentation.

The only option to upload data into Slots is via the REST API, but with this video and the documentation, you are equipped with all the details you need.

That was it! Slots are a powerful tool to annotate multiple files on the same screen - or to always have a guidance file next to the actual item that is to be annotated.

You now know how to upload your data into a Slots layout - and you know how to work with the exported annotation that includes multiple slots.

I hope this video helped you with getting started with V7.