Instance Tracking IDs
Darwin fundamentals
Darwin advanced

Play video
4:02

Play video
4:02

Play video
4:02
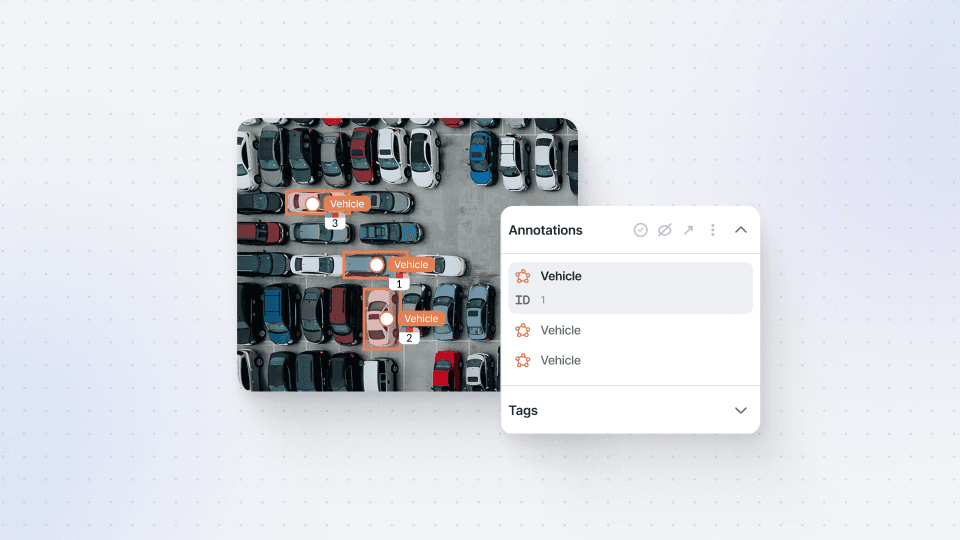
In this Darwin Fundamentals session, we tackle Instance Tracking IDs, which play a crucial role in providing object permanence in 2D computer vision. We explore what they mean, how they work, and why they’re so important to your development process.
We start the process with an explanation of Tracking IDs, through the use of an in-process dataset featuring a motorcycle. Here, we demonstrate the process of labeling and creating auto annotations within the image, across a series of frames. Through the use of the Instance Tracking ID function, we explain how you can manually edit IDs to ensure tracking is accurate across each of these frames.
Want to know a bit more about annotation methods within V7? Dive into our Darwin Fundamentals session on annotation methods.
Next, we touch on an interesting feature of Instance Tracking IDs: Chroma Hashing. Chroma Hashing allows you to assign a unique combination of colors to each Tracking ID, to allow you to easily recognize and make comparisons across a large set of ID values. Similarly, Users can copy annotations and sub-annotations between frames, making the tracking of moving objects easy and efficient.
To fuel your development even further, we include a helpful breakdown of platform shortcuts for annotation manipulation, allowing you to streamline and optimize your development pipeline.
By the end of this video, you’ll have a comprehensive understanding of Instance Tracking IDs, how they impact object tracking in computer vision projects, and how to leverage them for your own projects.
Up next
3:49
Watch video

Auto-Annotate Tool
How does the Auto-Annotate tool work? We tackle accurate polygon and pixel-wise annotation masks.
3:49
Watch video

Auto-Annotate Tool
How does the Auto-Annotate tool work? We tackle accurate polygon and pixel-wise annotation masks.
3:49
Watch video

Auto-Annotate Tool
How does the Auto-Annotate tool work? We tackle accurate polygon and pixel-wise annotation masks.
16:35
Watch video

Annotations - Getting Started
We dive into image annotation and explain how you can get the most out of these impressive features.
16:35
Watch video

Annotations - Getting Started
We dive into image annotation and explain how you can get the most out of these impressive features.
16:35
Watch video

Annotations - Getting Started
We dive into image annotation and explain how you can get the most out of these impressive features.
5:56
Watch video

Auto-Annotate Tips & Tricks
Wield Auto-Annotate like the experts, with tips and tricks to accelerate your use of the tool.
5:56
Watch video

Auto-Annotate Tips & Tricks
Wield Auto-Annotate like the experts, with tips and tricks to accelerate your use of the tool.
5:56
Watch video

Auto-Annotate Tips & Tricks
Wield Auto-Annotate like the experts, with tips and tricks to accelerate your use of the tool.