Models
Darwin fundamentals
Darwin advanced

Play video
11:39

Play video
11:39

Play video
11:39
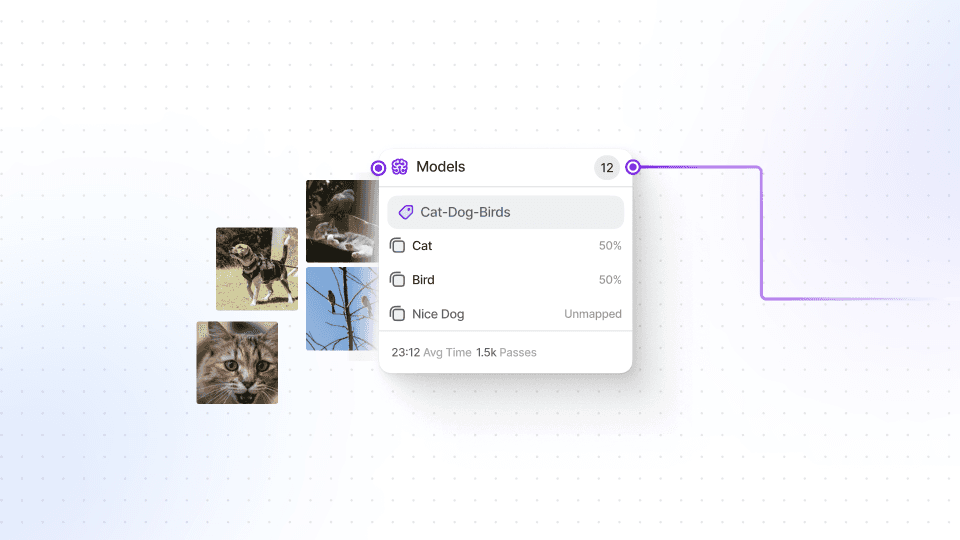
In this session, we are exploring the process of training and utilizing your own models in V7, the MLOps platform designed for efficient AI product development. Custom models provide you with the ability to develop AI solutions that can effortlessly handle any computer vision task, whether it involves image classification, object detection, or instance segmentation.
To get started, we will guide you through the models tab in V7, where you can initiate the training process. We will explain the distinctions between various computer vision models, highlighting the advantages and use cases of each type. For the purpose of this video, we will specifically focus on training an instance segmentation model for bird species detection.
You will learn the significance of having an adequate number of labeled instances for each class in your dataset, as this greatly impacts the performance of the model. With just 100 labeled instances, you can train a dependable custom model to assist with various tasks such as data labeling, quality testing, and even for production use via the V7 API.
We will walk you through the training process step by step. Once the training is complete, we will demonstrate how to deploy the model with a simple click. Moreover, we will delve into how you can integrate your model with your Python script using V7's REST API. With just a few lines of code, you can submit an image to the model and receive predictions for the detected objects, along with their labels and instance segmentation.
Whether you are new to V7 or an experienced user, this video will empower you to harness the full potential of custom models to expedite your AI projects and streamline your data annotation process.
Up next
3:49
Watch video

Auto-Annotate Tool
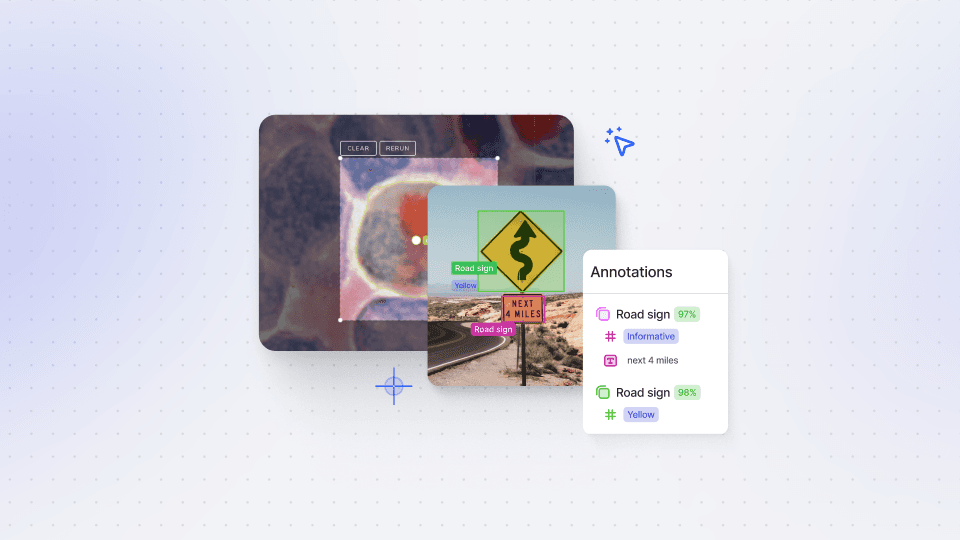
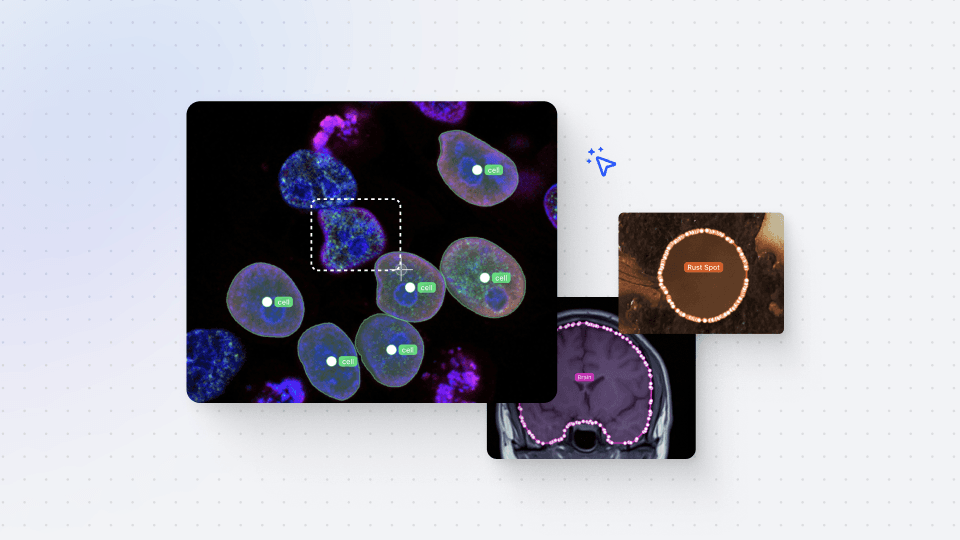
How does the Auto-Annotate tool work? We tackle accurate polygon and pixel-wise annotation masks.
3:49
Watch video

Auto-Annotate Tool
How does the Auto-Annotate tool work? We tackle accurate polygon and pixel-wise annotation masks.
3:49
Watch video

Auto-Annotate Tool
How does the Auto-Annotate tool work? We tackle accurate polygon and pixel-wise annotation masks.
16:35
Watch video

Annotations - Getting Started
We dive into image annotation and explain how you can get the most out of these impressive features.
16:35
Watch video

Annotations - Getting Started
We dive into image annotation and explain how you can get the most out of these impressive features.
16:35
Watch video

Annotations - Getting Started
We dive into image annotation and explain how you can get the most out of these impressive features.
5:56
Watch video

Auto-Annotate Tips & Tricks
Wield Auto-Annotate like the experts, with tips and tricks to accelerate your use of the tool.
5:56
Watch video

Auto-Annotate Tips & Tricks
Wield Auto-Annotate like the experts, with tips and tricks to accelerate your use of the tool.
5:56
Watch video

Auto-Annotate Tips & Tricks
Wield Auto-Annotate like the experts, with tips and tricks to accelerate your use of the tool.