Annotations Import

We outline the step-by-step process for importing existing annotated data into V7.

In this Darwin Advanced session, we discuss how you can import annotations to V7 by using the command line interface (CLI) or the software development kit (SDK) - in any of our supported file formats. Head to our Import Annotations documentation to access a detailed overview of the process and the scripts discussed in the video.

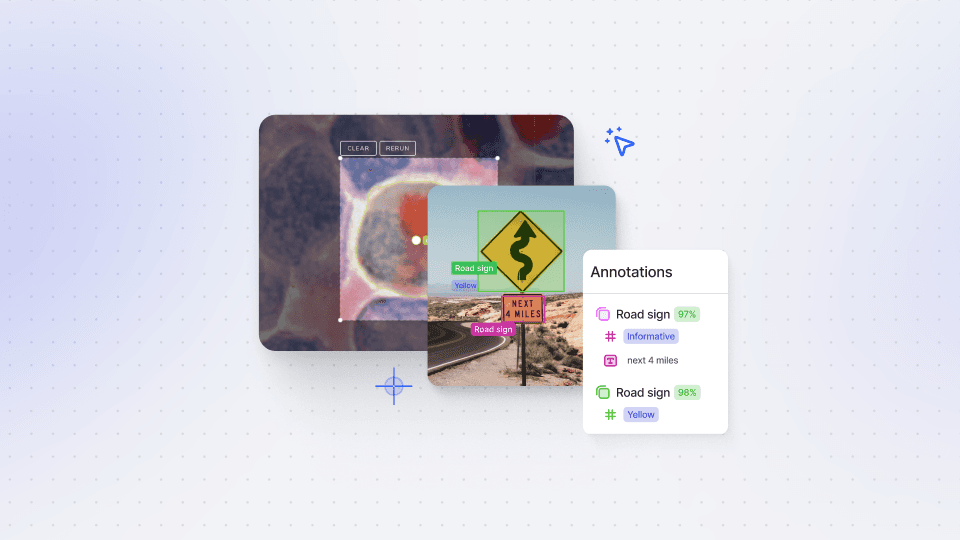
This tutorial begins with a breakdown of the Darwin JSON file format, the most versatile and widely used option for importing annotations. However, if you require another format - don’t worry, we support COCO, YOLO, Instances PNG, CVAT, and many others.

We begin by breaking down the makeup of the Darwin JSON format, highlighting the annotation and item data specific to the image or video you’re importing. To get started with annotations import, we showcase two methods: the CLI and the SDK.

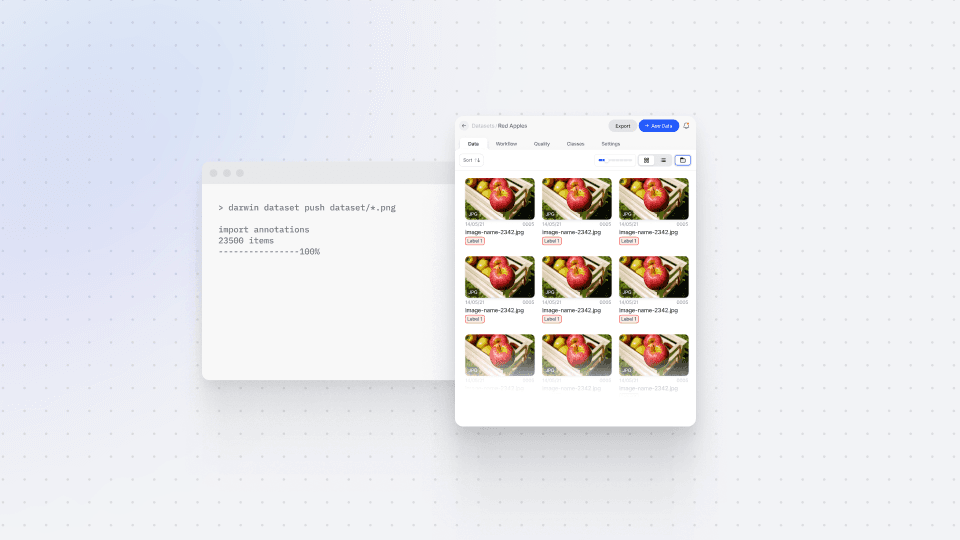
The step-by-step run-through of the CLI method includes how users can authenticate themselves using the “darwin authenticate” command, and how they can access datasets by using “darwin datasets remote”.

Next, we demonstrate the process of using the SDK, with code examples. Here we walk you through initiating the client and specifying the annotation format, to uploading the annotations to the dataset hosted on V7.

You’ll come away with a detailed and accessible explanation of how to import annotations to V7, allowing you to organize and drive your computer vision projects forward.

You can use the command line interface or SDK to import annotations in any of our supported file formats.

We currently support the formats, Coco, YOLO, Pascal, VOC, and more, but we are always looking to extend this list. That said, the default and most versatile format is our own Darwin JSON format, so let's have a brief look at how it is defined.

The content of each Darwin JSON file can be summarized by the following specifications.

An export includes all the information about the exported resource. The most important information hereby is the item and annotations field. The dataset field simply encodes the Darwin dataset name that the resource belongs to. The slots field again describes a resource that can be of type image or video, uploaded to Darwin, including its original metadata. The version field will simply be 2.0 when the export format is Darwin JSON 2.0.

Now, the item field includes information about the referenced resource, that is the image or the video, uploaded to Darwin within particular slots. Finally, the annotations field actually lists all the annotations within Darwin for that resource, be it bounding boxes or polygons.

Outside of the annotation data, the only really required field, in the imports for Darwin JSON, is the filename. That is used to associate the annotations to the corresponding images in V7 upon import.

Okay, enough boring definitions. Let's look at some code. As you can see, we have already uploaded the images in our dataset to V7, but we now want to also upload our existing annotations using the SDK.

Let's first see how to access our datasets that are stored on V7 using the command line interface. If we haven't already, we need to authenticate ourselves using the command “Darwin authenticate”, where we'll be asked to enter our API key. Those can be found and generated when going to our settings in V7 and then to the tab for API keys.

Now that we are authenticated, we can view which datasets we have by entering “Darwin datasets remote”. We now have everything that we need to actually import our annotations.

The easiest method to do so is using the command line interface. We simply use the command “Darwin datasets import” and provide the following arguments.

First, we specify the slugified team and dataset names. If the term slugified is new to you, please have a look at documentation and everything should be clear.

Okay, the missing important arguments are the annotation format and the path to the annotations themselves, and, that's actually it. Now, using the SDK is really not much more work.

Let's have a look at the simple scripts to upload our annotations. We again start by initializing our client, where there are multiple ways of doing so, for example, directly via the API key or using the local authentication that we just set up when using the command line interface.

We also figured out the dataset identifier that we can now use to target the dataset in V7.

Next, we need to specify the annotation format and we can fetch the necessary parcel object. Finally, we can upload our annotations to our dataset hosted on V7. This append argument here specifies whether an already existing annotation will be overwritten or not. That means setting append to true will add the imported annotation without overriding the existing ones.

Okay, cool. Let's see the script in action.

Okay, we have already looked at this dataset right here and know that we have some annotations here. For example, those with the green mark are in the complete stage and some images don't have annotations. For example, this little image right here of this nightingale.

So, let's go ahead and look at the code and upload the annotation that I have already done and stored on my local machine. So, we'll go ahead and look at the code.

Okay, as with every script that we write, we first need to import our dependencies. While going through the code, we'll look at what each individual module actually does.

So, let's go ahead and import our dependencies. We now are at the point where we want to authenticate our client, right? We need to somehow have an interface to V7 itself. There are multiple ways of doing this, for example, one is to directly use your API key or the other is to, as already discussed, use the local authentication method, which we have set up when using the command line interface.

The code is already familiar to you. We already looked at it, but let's just see how it works in action. So now we are at the point where we want to specify our dataset. Our dataset is our team name or slugified team name, Boris Moinados, and then the dataset that we are working with. So when you run this, we actually get access to our remote datasets and we have our dataset manager.

So let's run this. So now going through a code step by step, we now want to get the parser object that we need for our importerTherefore, we'll just specify our format name. In my case, we are again using the nice Darwin JSON format. So let's just run the cell and fetch our parser object and then we need to specify the list of annotations that we have.

Now, in this case, I'll just be showing you how to upload one annotation, but you can always append this list with all the parts to all the annotations that you have and that you want to upload to V7.

So, again, in this case, I have my annotations path, which is a list of just strings with the path to this one annotation that I have.

Right, if you look at what the annotations look like, I can go into my bird species, which has all the images, and then I go to my releases and to my annotations, and here I have my list with all annotations.

Okay. So let's just create this little list and we are almost done. Okay. We can now simply use our importer object to actually import the annotations.

We hereby again specify to which dataset we want to import our annotations to, we provide our parser, (which is now set for the Darwin JSON file format), we have our list of annotations and we have our append true arguments. So let's just run the cell.

We can see that we are already done.

It's just one file, so let's go ahead and look at our UI. This is the image that we want to upload our annotation to. Let's just refresh this website, you can see, here we have the annotation. If I just reduce the brightness, you can see the annotation even better.

And that's it. It's as simple as that.

Again, not that crazy, right?

You now know how to import your existing annotations into V7.

I hope this video helped you with getting started with, well, V7.