Computer vision
The Complete Guide to Panoptic Segmentation [+V7 Tutorial]
10 min read
—

What is panoptic segmentation and how does it work? Explore different applications of panoptic segmentations and discover tools and datasets you can use to work with this segmentation technique.

Nilesh Barla
Guest Author and Founder

In computer vision, the task of image segmentation enables machines to separate different objects in the image into individual segments.
It achieves this by assigning labels to every pixel belonging to the same class. Furthermore, it transforms an image into something that is easier to analyze and understand. The task of image segmentation usually involves classifying, detecting, and labeling objects.
Image segmentation can be classified into three categories:
Semantic segmentation
Instance segmentation
Panoptic segmentation
If you’re feeling a bit lost trying to grasp all those concepts—worry not!
We’ve put together Semantic Segmentation and Instance Segmentation beginner guides that you can check out to get up to speed. In this article, we’ll deal with the topic of Panoptic Segmentation and its most prominent applications.
Here’s what we’ll cover:
What is Panoptic Segmentation?
How does Panoptic Segmentation work?
Panoptic Segmentation datasets
Panoptic Segmentation applications
Video annotation
AI video annotation
Get started today
And in case you landed here to get hands-on experience with doing your own computer vision project, make sure to check out:
And if you are looking for some inspiration, have a look at our list of 27+ Most Popular Computer Vision Applications and Use Cases.
Now, let’s dive in.
What is Panoptic Segmentation?
The word panoptic is derived from two words: pan and optic.
Pan means “all” and optic means “vision”. Panoptic segmentation, therefore, roughly means “everything visible in a given visual field”.
In computer vision, the task of panoptic segmentation can be broken down into three simple steps:
Separating each object in the image into individual parts, which are independent of each other.
Painting each separated part with a different color—labeling.
Classifying the objects.
But—
This sounds exactly the same as the two other image segmentation techniques we’ve mentioned above. So, what’s the caveat?
You see, panoptic segmentation is a hybrid method combining semantic segmentation and instance segmentation.
It was introduced by Alexander Kirillov and his team in 2018.
The goal of panoptic segmentation is to holistically generalize the task of image segmentation rather than using two different approaches separately or, as the authors defined it, “the unified or global view of segmentation”.
The key differentiator?
Panoptic segmentation helps classify objects into two categories: things and stuff.
Things
In computer vision, the term things generally refers to objects that have properly defined geometry and are countable, like a person, cars, animals, etc.
Stuff
Stuff is the term used to define objects that don’t have proper geometry but are heavily identified by the texture and material like the sky, road, water bodies, etc.
Pro tip: Read Data Annotation Tutorial: Definition, Tools, Datasets.
Semantic Segmentation vs. Instance Segmentation vs. Panoptic Segmentation
You can skip this section if you’ve already mastered Semantic Segmentation and Instance Segmentation.
But—
For those of you who need a super quick recap of the differences between those three image segmentation methods, here are the answers you’ve been looking for!
Semantic segmentation
Semantic Segmentation is the task of assigning a class label to every pixel in the image. Essentially, the task of Semantic Segmentation can be referred to as classifying a certain class of image and separating it from the rest of the image classes by overlaying it with a segmentation mask.

Instance segmentation
Instance segmentation, on the other hand, creates separate segmentation masks for all objects and classifies pixels into categories on the basis of individual “instances” rather than classes.
Pro tip: Looking for the perfect bounding box tool? Check out 9 Essential Features for a Bounding Box Annotation Tool.
Finally, here’s a short and sweet summary of the key differences between Semantic and Instance segmentation.
Semantic segmentation is used to study stuff as they are more amorphous or not well defined, while instance segmentation is used to study things as they are well defined which makes it easier to classify and detect.
Semantic segmentation creates a unified segmentation mask across objects belonging to the same class while instance segmentation creates individual segmentation masks for each and every object in the image.
Panoptic Segmentation
Panoptic segmentation combines both—it identifies the objects with respect to class labels and also identifies all the instances in the given image.

And hey—don't forget to visit our article listing 13 Best Image Annotation Toolsto find a suitable tool for creating high quality training data.
How does Panoptic Segmentation work?
In panoptic segmentation, the input image is fed into two networks: a fully convolutional network (FCN) and Mask R-CNN.
Pro tip: Check out Comprehensive Guide to Convolutional Neural Networks.
The FCN is responsible for capturing patterns from the uncountable objects—stuff – and it yields semantic segmentations.
The FCN uses skip connections that enable it to reconstruct accurate segmentation boundaries. Also, skip connections enable the model to make local predictions that accurately define the global or the overall structure of the object.
Likewise, the Mask R-CNN is responsible for capturing patterns of the objects that are countable—things—and it yields instance segmentations. It consists of two stages:
Region Proposal Network (RPN): It is a process, where the network yields regions of interest (ROI).
Faster R-CNN: It leverages ROI to perform image classification and create bounding boxes.
The output of both models is then combined to get a more general output.
Pro tip: Ready to train your models? Have a look at Mean Average Precision (mAP) Explained: Everything You Need to Know.
However, this approach has several drawbacks such as:
Computational inefficiency
Inability to learn useful patterns, which leads to inaccurate predictions
Inconsistency between the network outputs
To address these issues, a new architecture called the Efficient Panoptic Segmentation or EfficientPS was proposed, which improves both the efficiency and the performance.
Pro tip: Learn more by visiting our Guide to Neural Network Architectures.
EfficientPS
On the most basic level, EfficientPS uses a shared backbone built on the architecture called the EfficientNet.
The architecture consists of:
EfficientNet: A backbone network for feature extraction. It also contains a two-way feature pyramid network that allows the bidirectional flow of information that produces high-quality panoptic results.
Two output branches: One for semantic segmentation and one for instance segmentation.
A fusion block that combines the outputs from both branches.
Here’s the visual representation of EfficientNet.

EfficientNet
The EfficientPS network is represented in red, while the two-way Feature Pyramid Network (FPN) is represented in purple, blue and green. The network for semantic and instance segmentation is represented in yellow and orange, respectively, while the fusion block is represented at the end.
And here’s an example of how it works in practice—
The image is fed into the shared backbone, which is an encoder of the EfficientNet. This encoder is coupled with a two-way FPN that extracts a rich representation of information and fuses multi-scale features much more effectively.
The output from the EfficientNet is then fed into two heads in parallel: one for semantic segmentation and the other for instance segmentation.
The semantic head consists of three different modules, which enable it to capture fine features, along with long-range contextual dependencies, and improve object boundary refinement. This, in turn, allows it to separate different objects from each other with a high level of precision.
The instance head is similar to Mask R-CNN with certain modifications. This network is responsible for classification, object detection, and mask prediction.
The last part of the EfficientPS is the fusion module that fuses the prediction from both heads.
This fusion module is not parameterized—it doesn’t optimize itself during the backpropagation. It is rather a block that performs fusion in two stages.
In the first stage, the module obtains the corresponding class prediction, the confidence score bounding box, and mask logits. Then, the module:
Removes all the object instances with the confidence score lower than a threshold value.
Once reductant instances are removed, the remaining instances or mask-logits are resized followed by zero-padding.
Finally, the mask-logits are scaled the same resolution as the input image
In the first stage, the network sorts the class prediction, bounding box, and mask-logits with respect to the confidence scores.
In the second stage, it is the overlapping of the mask-logit that is evaluated.
It is done by calculating the sigmoid of the mask-logits. Every mask-logit that has a threshold greater than 0.5, obtains a corresponding binary mask. Furthermore, if the overlapping threshold between the binary is greater than a certain threshold, it is retained, while the others are removed.
A similar thing is done for the output yielded from the semantic head.
Once the segmentations from both heads are filtered, they are combined using the Hadamard product, and voila—we’ve just performed the panoptic segmentation.

The process of Panoptic Segmentation
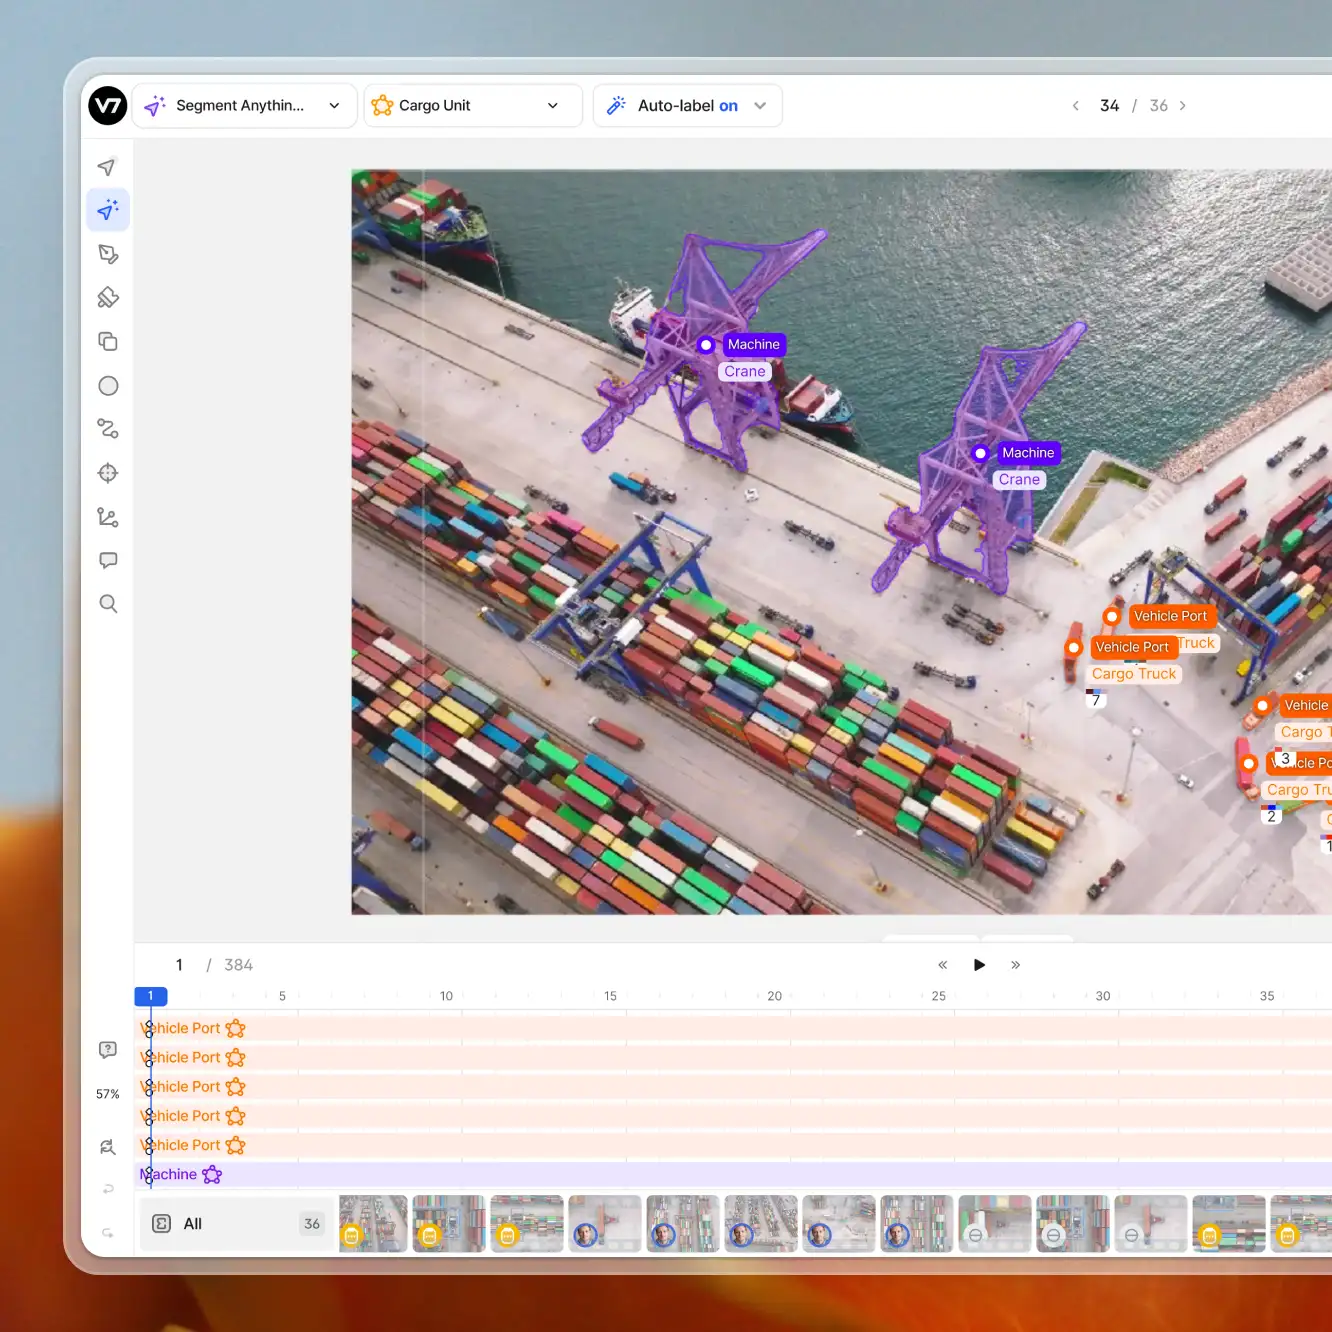
Panoptic Segmentation datasets
If you’d like to put your knowledge to practice, here are a few Panoptic Segmentation datasets you can use:
KITTI Panoptic Segmentation Dataset
Cityscapes
Mapillary Vistas
ADE20k,
Indian Driving Dataset
You can also find other datasets in our Open Datasets repository or on our list of 65+ Best Free Datasets for Machine Learning.


Panoptic Segmentation applications
Now, let’s discuss the most prominent applications of panoptic segmentation.
Medical imaging
Radiologists deal with large volumes of visual data that is often difficult to interpret. For example, identifying cancer cells with a naked eye is extremely challenging due to factors such as the occlusion or saturation—and that’s where panoptic segmentation comes in handy
By incorporating panoptic segmentation in their workflows, radiologists can easily recognize tumor cells because this method allows them to separate the background from the foreground. This is crucial as both the instances and the amorphous regions help shape the context of the disease.
Furthermore, the algorithm can classify and create segmentation masks and bounding boxes around the identified tumor cells.
Pro tip: Have a look at our Guide to Medical Image Annotation and the list of 20+ Open Source Computer Vision Datasets.
Autonomous vehicles
Autonomous vehicles are another area where panoptic segmentation is widely used.
Separating the foreground from the background provides a much better understanding of the distance-to-object estimation. This, in turn, helps the vehicles to make better decisions while steering, braking, and accelerating.
Pro tip: Read 9 Revolutionary AI Applications In Transportation.
Digital Image processing
These days every smartphone is equipped with a camera.
Some of these cameras are very high-end and can capture photos or videos of up to 4k resolution. (Of course, they also need software that can help them amplify the images)
Panoptic segmentation can leverage its ability to separate things from stuff and can create effects like:
Portrait mode
Bokeh mode
Auto-focus
Photomanipulation
Multi-Object Panoptic Tracking
Pro tip: Check out The Complete Guide to Object Tracking [+V7 Tutorial].
Panoptic Segmentation in a Nutshell
Panoptic segmentation isn’t a ground-breaking concept, but it does play a pivotal role in the field of computer vision. It is especially useful in the areas heavily relying on scene comprehension, including medicine, digital image processing, or autonomous vehicles.
We hope you have a much better idea now of how it works and how you can use it to solve various computer vision problems.
Here’s a short recap of everything we’ve covered:
Panoptic segmentation is an image segmentation task that combines the prediction from both instance and semantic segmentation into a general unified output.
Panoptic segmentation involves studying both stuff and things.
The initial panoptic deep learning model used two networks: Fully convolutional network (FCN) for semantic segmentation and Mask R-CNN for instance segmentation which was slow and yielded inconsistent and inaccurate segmentations due to which EfficientPS was introduced.
EfficientPS consists of a shared backbone that enables the network to efficiently encode and combine semantically rich multi-scale features. It is fast and consistent with the output.
Read more:
The Complete Guide to CVAT—Pros & Cons
YOLO: Real-Time Object Detection Explained
The Beginner's Guide to Self-Supervised Learning
Overfitting vs. Underfitting: What's the Difference?
The Beginner's Guide to Deep Reinforcement Learning
9 Reinforcement Learning Real-Life Applications
Mean Average Precision (mAP) Explained: Everything You Need to Know
The Beginner’s Guide to Contrastive Learning
The Ultimate Guide to Semi-Supervised Learning
The Complete Guide to Panoptic Segmentation

Nilesh Barla
Nilesh Barla is the founder of PerceptronAI, which aims to provide solutions in medical and material science through deep learning algorithms. He studied metallurgical and materials engineering at the National Institute of Technology Trichy, India, and enjoys researching new trends and algorithms in deep learning.


