Playbooks
How to Register External Models in V7
6 min read
—

Do you want to connect V7 with your own models or use third-party AI solutions? With our latest update, you can easily register and configure external models.

Casimir Rajnerowicz
Content Creator

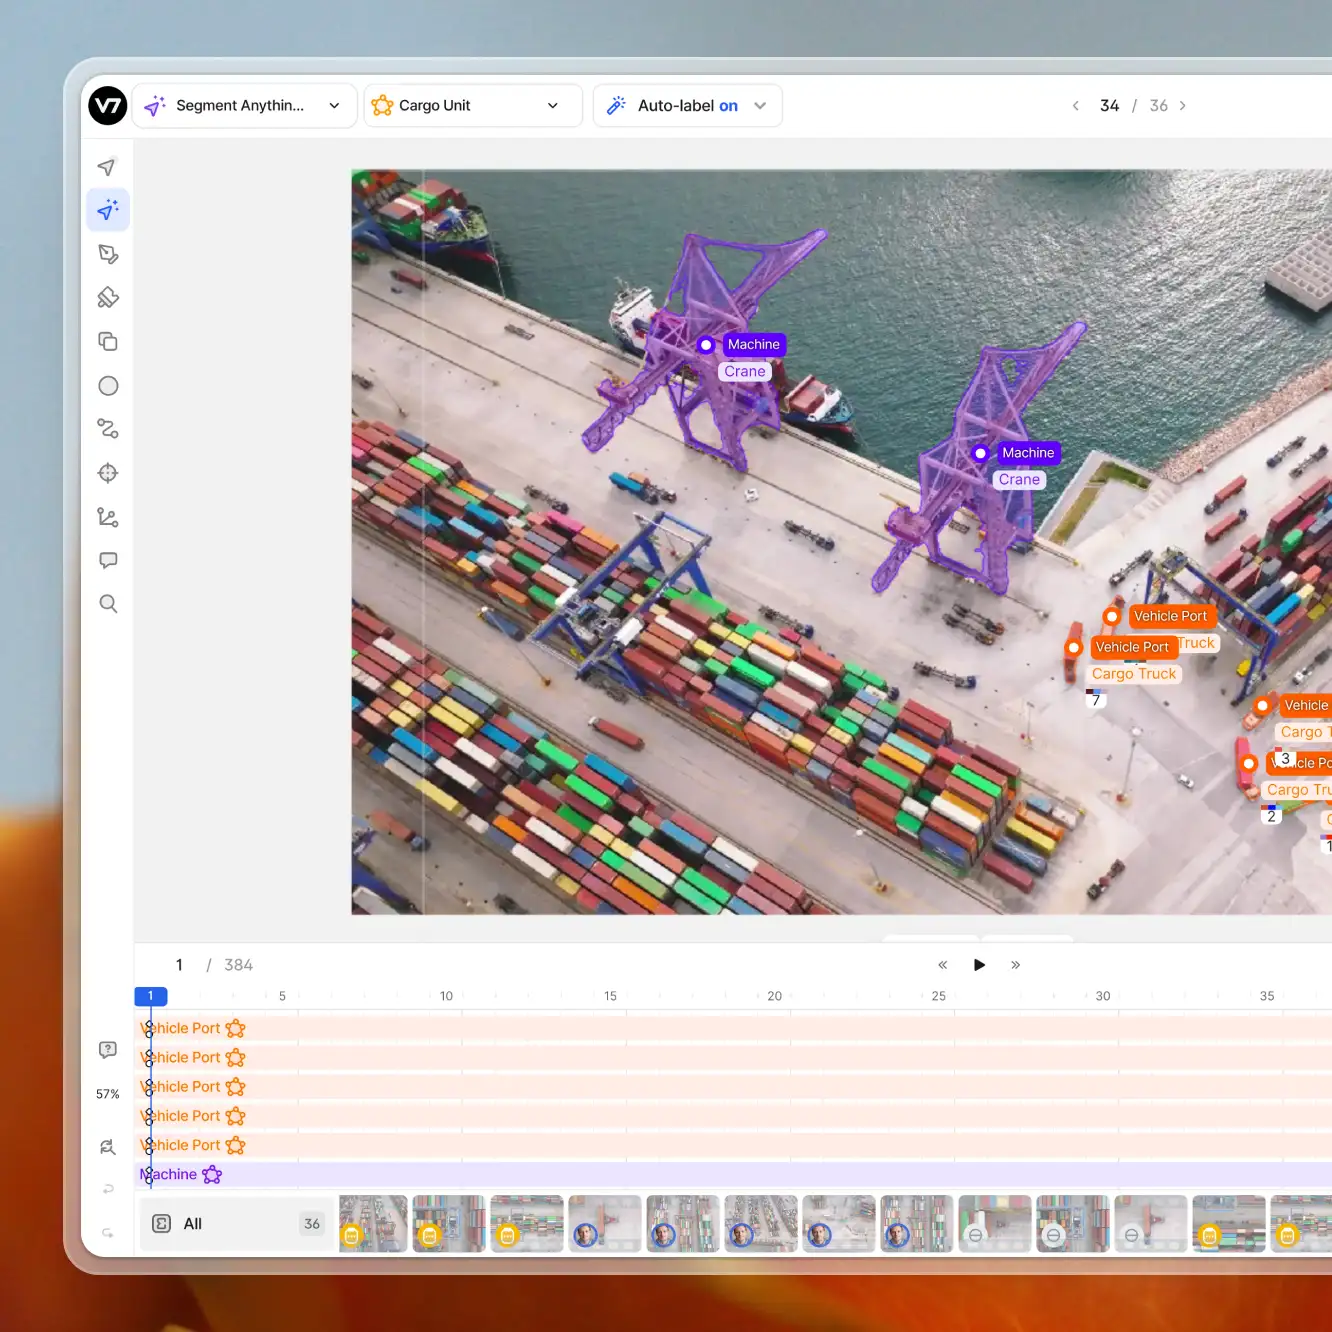
Video annotation
AI video annotation
Get started today
You can now register external models with just a few clicks using the button in the Models tab. The new functionality enables you to seamlessly incorporate external models into V7 workflows or auto-annotations.
The Bring Your Own Model feature has been available in V7 for quite a while. But, integrating external models required a lot of manual configuration via the API. Now, the process has been significantly simplified.
The video below shows a basic face detection model using OpenCV integrated with the Auto-Annotate tool:
Our "Register External Model" feature allows you to set up an HTTP endpoint address and authentication method. You can also specify the output classes to be extracted from JSON responses and mapped as V7 annotations.

You can easily leverage external models in V7 by configuring an inference endpoint for any AI model that is hosted online. This extends to services such as AWS, Azure, Google Cloud, and other servers that accept and respond to web requests via the HTTP protocol. In the near future, integration with HuggingFace models will also be supported.
Key benefits of using external models:
Get instant access to open source models and map their output classes to V7 labels
Connect V7 workflows with your own IP models to automate complex tasks
Enhance the Auto-Annotate tool with custom models to tackle unique challenges
How to connect any model to V7
Registering external models and integrating it with V7 is very easy once you are familiar with the structure of V7 Darwin JSON files.
So—
What exactly happens when we use Auto-Annotate with a custom model selected? Or when we move an image to the Model stage in a workflow?
Basically, when you are using external models, V7 sends a JSON payload (using the POST method) to a specific inference endpoint.
This JSON includes information such as the Image URL, along with an authentication token and additional parameters (such as the coordinates of the image area outlined with the Auto-Annotate box).
Example of HTTP request sent to an external model’s endpoint:
The JSON payload example above is sent to our registered inference endpoint when we send an image to the Model stage with the external model connected. Note that there are no additional parameters.
The contents of this JSON file can be processed by our web app (for example a Flask server) to extract the image or its relevant area. Then, the image can be processed by our AI model and our web app can send a response.
Example response:
This JSON response will automatically add a bounding box annotation to the area where a face was detected.

To use an external model in V7, follow these steps:
Set up your server or app to accept HTTP requests
Ensure that your requests and responses conform to the Darwin JSON schema
Register your external model’s endpoint in the model page
Use the model as a workflow stage or via Auto-Annotate
Here is an example of a simple setup we used for integrating the OpenCV’s face detection model:

All interactions occur through the inference endpoint.
The Python script uses OpenCV's Haar cascade face detection model
It is deployed as a Flask web application hosted on AWS (with Gunicorn and Nginx handling requests)
The external model is used as a model stage and incorporated into a V7 workflow
If you want to use a similar setup, we recommend following these steps:
Step 1: Register a new external model
Go to the Models panel and click the “Register External Model” button. You can change the endpoint URL address, classes, and name of your external model at any time. Therefore, it makes sense to register the model from the start, even if it is not active yet.

Set up a temporary endpoint to capture your HTTP requests. This may be useful as a starting point for coding your app for handling the model. To familiarize yourself with the way V7 sends requests, you can use popular tools like ReqBin or Insomnia for experimentation.
Step 2: Prepare your web application and define necessary functions
The level of complexity may vary depending on the framework you use. However, your application should achieve the following:
Set up a web application (such as a Flask app)
Define an endpoint (URL) in the app to receive incoming data, for example, "/api/infer".
Configure the endpoint to handle POST requests.
Retrieve the incoming data, which will be in the form of a JSON payload.
Extract the image data from the JSON.
Implement the necessary logic to analyze the image with your AI model.
Prepare a response with the coordinates of the annotations.

In our face detection example, a response JSON object is prepared depending on whether a face is detected or not. The object includes the confidence, label, name, and bounding box coordinates.
Step 3: Deploy your model using a solution that accepts HTTP requests.
There are multiple deployment options available for your model, including cloud platforms like Azure and AWS, as well as platforms such as Heroku.
In our example, we use a free-tier EC2 Ubuntu instance on Amazon Web Services for deployment. This instance enables you to create a public IPv4 address that can serve as the endpoint for the deployed model. Just add "/api/infer" or whatever URL you used in the previous step to access the model.

The deployment setup is based on Flask, Gunicorn, and Nginx. By combining these three core libraries, you can establish a reliable and scalable deployment infrastructure for your model. Flask enables the development of the API for our model, Gunicorn efficiently manages concurrent requests, and Nginx acts as a gateway, ensuring proper routing of requests to the Gunicorn server.
Step 4: Set up the correct endpoint address and test the model
After deploying your web application, update the endpoint address. Then, add a new model stage in your workflow, connect your external model, and map the output classes.

Navigate to your dataset and send several images to the model. If everything went correctly, they should pass to the Model stage and to the Review stage almost immediately. Here, you can review the results and any potential errors or issues encountered during the analysis.
Common use cases for external models

OpenPose connected as an external model to generate keypoint skeletons in V7
Direct access to open source models
You can solve tasks such as pose estimation with OpenPose or use external libraries for facial landmark detection. While models trained on V7 are perfect for classification, object detection, and instance segmentation tasks, you can leverage the power of external models to expand on those capabilities.
Easier benchmarking and model performance testing
Running an external model, for example, a Flask-based app, allows you to collect more information and generate additional logs for your models and their interactions with your datasets. You can also connect multiple external models using a Consensus stage and compare their level of overlap.
Using models across multiple V7 teams
Since models trained and deployed with V7 use the same JSON structure, it is extremely easy to connect models and use them across multiple accounts. This can be useful if you need to discuss and experiment with solutions and use cases, and consult our customer support team. The ability to connect V7-native models with just a few clicks can be helpful for troubleshooting and finding the best solutions for your use case.
Read more: BYOM UI documentation


